Installing Ski Racks on Your Car: A Step-by-Step Guide

Winter sports enthusiasts know the importance of having reliable ski racks to transport their gear safely and conveniently. Whether you’re planning a weekend getaway or an extended ski trip, installing ski racks on your car ensures your skis, snowboards, and other equipment are secure during transit. This comprehensive guide will walk you through the process of selecting, installing, and maintaining ski racks on your vehicle, helping you prepare for countless snowy adventures.
Why Install Ski Racks?

Before getting into the installation process, it’s essential to understand the benefits of having ski racks on your car:
- Convenient Transportation: Easily carry your skis, snowboards, and other winter gear without occupying valuable interior space.
- Safety: Properly installed ski racks keep your equipment secure, preventing damage to your gear and ensuring safe driving.
- Versatility: Many ski racks are adjustable and can accommodate various types of equipment, making them suitable for different winter sports.
- Protection: Protect your car’s interior and roof from scratches and dents that can occur when carrying equipment without racks.
Types of Ski Racks
Choosing the right type of ski rack for your vehicle is crucial for ease of installation, functionality, and compatibility. Here are the most common types:
1. Roof-Mounted Ski Racks

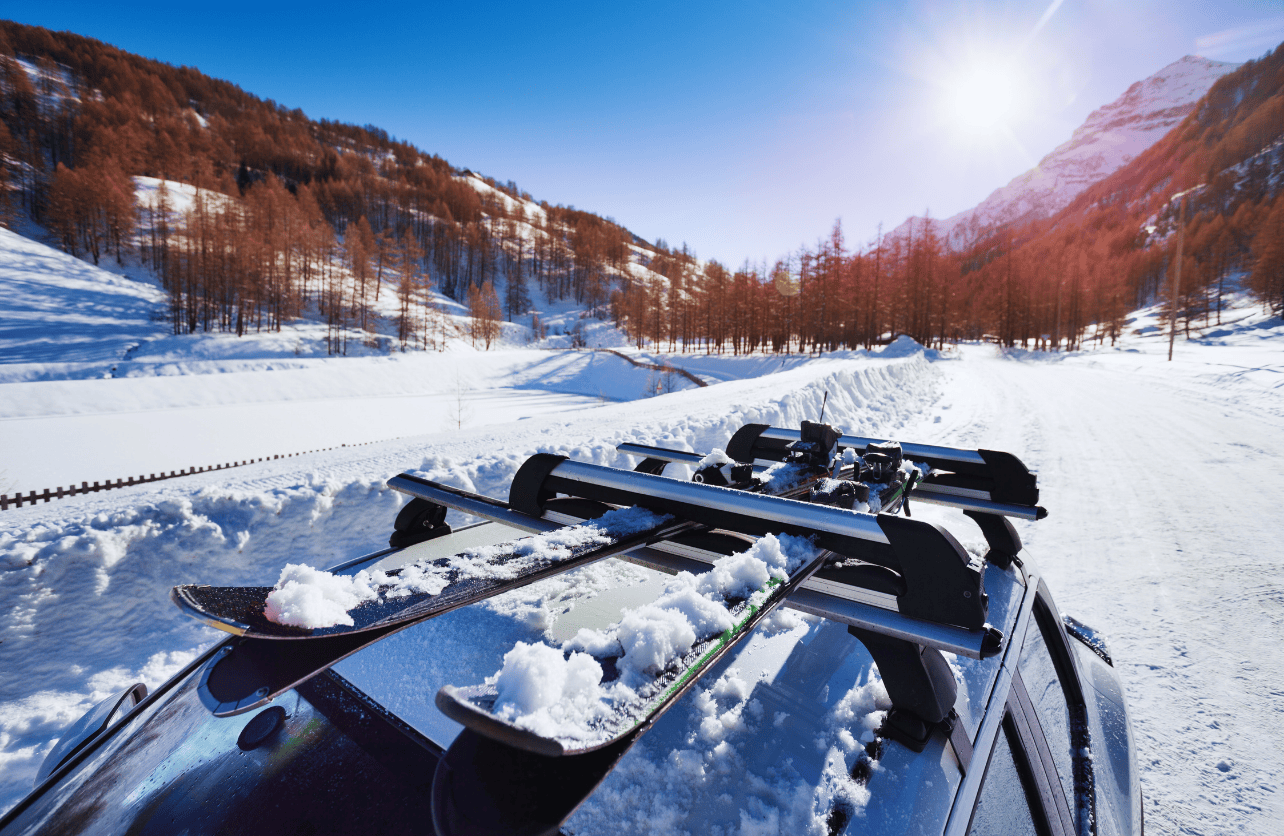
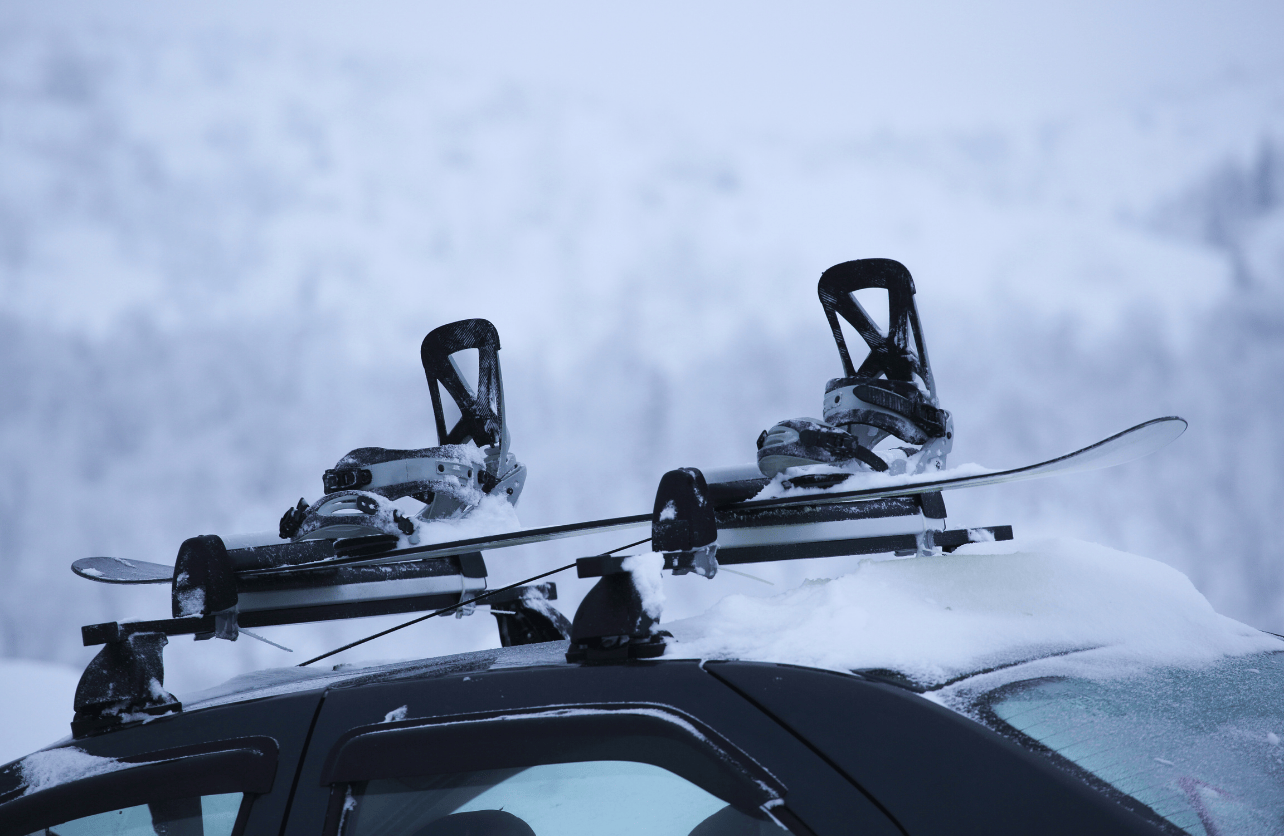
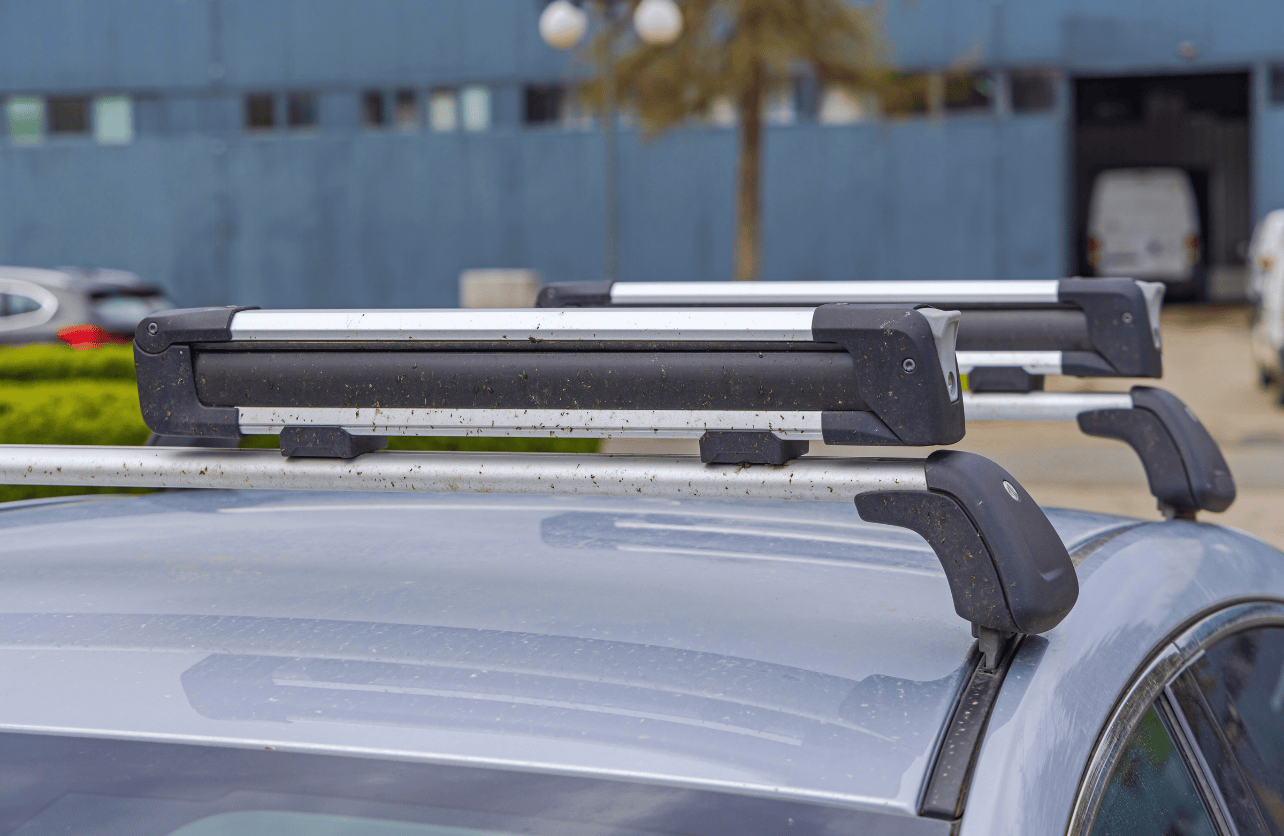
Roof-mounted racks are the most popular choice for carrying skis and snowboards. They typically attach to the vehicle’s roof rails or crossbars.
- Pros:
- Suitable for most vehicle types with roof rails.
- Provides ample space for multiple pairs of skis or snowboards.
- Often adjustable to accommodate different equipment sizes.
- Cons:
- Can obstruct visibility and access to the roof.
- May require additional accessories for secure attachment.
2. Hitch-Mounted Ski Racks

Hitch-mounted racks attach to the vehicle’s trailer hitch, offering an alternative to roof-mounted options.
- Pros:
- Easy to install and remove.
- Doesn’t interfere with roof access or visibility.
- Generally more affordable than roof-mounted racks.
- Cons:
- Requires a trailer hitch.
- May not fit all vehicle types.
- Can take up rear bumper space.
Tools and Materials Needed
Before starting the installation, gather the necessary tools and materials:
- Ski Rack Kit: Ensure it’s compatible with your vehicle and type of ski rack.
- Screwdrivers: Both flathead and Phillips.
- Wrenches: For tightening bolts and nuts.
- Drill: With appropriate bits (if required for your ski rack type).
- Measuring Tape: To ensure accurate placement.
- Marker or Pencil: For marking installation points.
- Protective Gloves: To safeguard your hands during installation.
- Rubber Mallet: Optional, for gently tapping components into place.
Step-by-Step Installation Guide
1. Choose the Right Ski Rack
Select a ski rack that matches your vehicle’s make and model, and suits your specific needs. Consider the type of skiing or snowboarding you do, the amount of gear you carry, and your budget. Read reviews and compare features to make an informed decision.
2. Gather Your Tools and Materials
Ensure you have all the necessary tools and materials before starting the installation process. Having everything on hand will make the process smoother and prevent unnecessary delays.
3. Read the Manufacturer’s Instructions
Each ski rack model may have unique installation steps. Carefully read the manufacturer’s instructions provided with your ski rack to understand the specific requirements and steps involved.
4. Prepare Your Vehicle
- Clean the Area: Ensure the installation area (roof rails, hitch, or spare tire location) is clean and free from debris.
- Inspect Components: Check that all parts of the ski rack are present and undamaged.
5. Install Roof-Mounted Ski Racks
a. Attach to Roof Rails:
- Position the Rack: Place the ski rack on the roof rails, ensuring it is centered and evenly spaced.
- Secure the Mounts: Use the provided clamps or brackets to attach the rack to the roof rails. Tighten the bolts securely but avoid over-tightening, which can damage the roof rails.
- Adjust for Fit: Ensure the rack is level and properly aligned. Make any necessary adjustments to accommodate your skis or snowboards.
b. Install Crossbars (If Needed):
- Measure and Mark: Measure the distance between your roof’s highest and lowest points. Mark the positions for the crossbars accordingly.
- Drill Holes: If your ski rack requires drilling, carefully drill holes at the marked points. Be cautious to avoid damaging the vehicle’s paint or structural integrity.
- Attach Crossbars: Secure the crossbars using the provided hardware. Ensure they are tightly fastened and level.
6. Install Hitch-Mounted Ski Racks
a. Attach the Mounting Plate:
- Position the Rack: Align the mounting plate with the trailer hitch receiver.
- Insert the Bolt: Insert the bolt through the mounting plate and into the hitch receiver.
- Tighten Securely: Use a wrench to tighten the bolt, ensuring the rack is firmly attached.
b. Attach the Ski Holder:
- Connect the Holder: Attach the ski holder to the mounting plate as per the manufacturer’s instructions.
- Adjust for Fit: Ensure the ski holder is properly aligned and adjust the straps or clamps to secure your skis or snowboards.
7. Test the Installation
After installing the ski rack, perform the following checks:
- Stability: Shake the rack gently to ensure it is securely attached and does not move.
- Alignment: Verify that the rack is properly aligned and that your skis or snowboards are evenly spaced.
- Accessibility: Ensure that the rack does not obstruct access to important parts of your vehicle, such as the roof or rear bumper.
8. Load Your Ski Gear
Carefully load your skis or snowboards onto the rack:
- Positioning: Place the skis or snowboards on the rack, ensuring they are evenly distributed.
- Securing: Use straps, clamps, or other securing mechanisms provided with your rack to hold the gear in place.
- Double-Check: Ensure that all equipment is tightly secured and cannot shift during transit.
Safety Tips for Using Ski Racks
- Weight Limits: Adhere to the manufacturer’s weight limits for your ski rack to prevent overloading and potential damage to your vehicle.
- Regular Inspections: Periodically check the rack’s attachment points and securing mechanisms to ensure they remain tight and secure.
- Proper Loading: Distribute the weight evenly and avoid stacking too much gear on the rack.
- Visibility: Ensure that the rack and ski gear do not obstruct your vehicle’s lights, license plate, or rearview mirror.
- Drive Cautiously: Be mindful of the added height and weight when driving with a ski rack. Drive more slowly, especially on winding or slippery roads.
Maintenance and Care
Proper maintenance extends the lifespan of your ski rack and ensures it remains functional and safe:
- Clean Regularly: Remove dirt, snow, and salt from the rack after each use to prevent corrosion and rust.
- Lubricate Moving Parts: Apply lubricant to any moving parts, such as clamps or hinges, to keep them operating smoothly.
- Store Properly: When not in use, store the ski rack in a dry, sheltered area to protect it from the elements.
- Inspect for Damage: Regularly inspect the rack for signs of wear, rust, or damage. Replace any worn or broken parts promptly.
Choosing the Right Ski Rack for Your Vehicle
Selecting the appropriate ski rack involves considering several factors:
- Vehicle Compatibility: Ensure the rack is compatible with your vehicle’s make, model, and existing features (roof rails, hitch receiver, spare tire location).
- Type of Skiing or Snowboarding: Choose a rack that suits the type and size of your equipment. For example, some racks are designed specifically for snowboards or touring skis.
- Ease of Installation: Opt for racks that match your comfort level with installation. Some models are easier to install and remove without professional assistance.
- Storage Needs: Consider how much gear you typically transport. If you often carry multiple pairs of skis or snowboards, a larger rack with higher capacity may be necessary.
- Budget: Ski racks vary in price based on features and quality. Determine your budget and select a rack that offers the best value within your price range.