How to Disconnect a Car Battery
Thinking about doing some work on your car? Maybe installing a new stereo, changing out a headlight, or replacing the battery itself? Whatever the reason, knowing how to safely disconnect your car battery is a handy skill. Don’t worry—it’s easier than you might think.
Why Disconnect the Battery?
First, you might wonder why you’d need to disconnect the battery at all. Well, the car’s electrical system can be a bit sensitive. Disconnecting the battery prevents any electrical shorts or surprises while you’re working. Plus, it’s a must-do for certain repairs and installations to protect both you and your vehicle.
Safety First!
Before we get started, a quick word about safety:
- Wear Safety Gear: Put on some gloves and safety glasses. Batteries can leak acid, and you don’t want that on your skin or in your eyes.
- No Sparks Allowed: Keep metal tools away from the battery terminals when not in use to avoid sparks.
- Work in a Well-Ventilated Area: If you’re in a garage, make sure it’s ventilated. Batteries can emit gases that aren’t great to breathe in.
What You’ll Need
- Wrench or Socket Set: Most battery terminals use a 10mm bolt, but sizes can vary.
- Gloves: To protect your hands.
- Safety Glasses: To protect your eyes.
- Zip Ties or Electrical Tape (Optional): To secure the cables away from the battery.
Step-by-Step Guide
1. Turn Off the Engine
Make sure your car is parked, the engine is turned off, and the keys are out of the ignition. For extra safety, remove the key entirely so there’s no chance of someone starting the car while you’re working.
2. Pop the Hood and Locate the Battery
Open the hood using the release lever inside your car (usually found near the driver’s seat). Secure the hood with the prop rod if your car has one.
Locate the battery—it’s typically a rectangular box with two cables attached. In some cars, the battery might be in the trunk or under a seat, so check your owner’s manual if you’re not sure.
3. Identify the Battery Terminals
There are two terminals:
- Negative Terminal (-): Usually marked with a minus sign and connected with a black cable.
- Positive Terminal (+): Usually marked with a plus sign and connected with a red cable.
It’s crucial to know which is which!
4. Put On Your Safety Gear
Slip on those gloves and safety glasses. Better safe than sorry!
5. Disconnect the Negative Terminal First
Always start with the negative terminal to reduce the risk of electrical shorting.
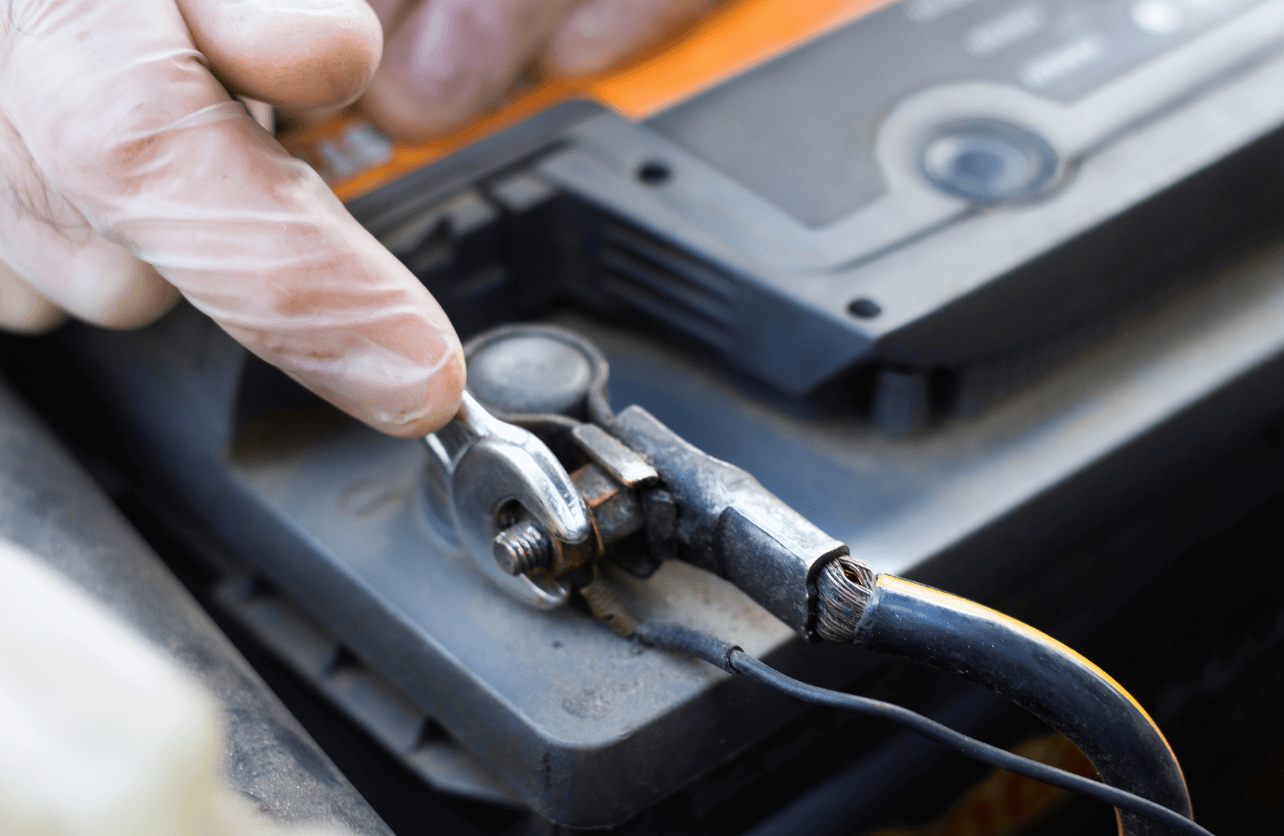
- Loosen the Nut: Use your wrench or socket to loosen the nut on the negative terminal clamp. It usually doesn’t need to come all the way off—just enough to loosen the clamp.
- Remove the Cable: Wiggle the clamp off the battery post. If it’s stubborn, gently pry it with a plastic tool—avoid metal tools to prevent sparks.
- Secure the Cable: Move the negative cable away from the battery. Secure it with a zip tie or wrap it in a cloth to prevent it from springing back into contact with the terminal.
6. Disconnect the Positive Terminal
Now, move on to the positive terminal.
- Loosen the Nut: Just like before, loosen the nut on the positive terminal clamp.
- Remove the Cable: Remove the clamp from the positive battery post.
- Secure the Cable: Keep it away from the battery and the negative cable.
7. Optional: Remove the Battery (If Needed)
If you’re replacing or removing the battery:
- Check for a Hold-Down Clamp: Many batteries are secured with a clamp at the base. Use your wrench to remove it.
- Lift Out the Battery: Batteries can be heavy—use both hands and lift carefully.
8. You’re Done!
Congrats! You’ve successfully disconnected your car battery. Now you can safely proceed with whatever maintenance or installation you have planned.
Reconnecting the Battery
When you’re ready to reconnect:
- Place the Battery Back (if you removed it) and secure any hold-down clamps.
- Reconnect the Positive Terminal First: Attach the positive clamp to the positive terminal and tighten the nut.
- Reconnect the Negative Terminal: Attach the negative clamp to the negative terminal and tighten the nut.
- Double-Check: Make sure both clamps are secure and that there are no tools left in the engine bay.
A Few Extra Tips
- Resetting Electronics: Keep in mind that disconnecting the battery may reset your car’s electronics. You might need to reprogram your radio stations or clock.
- Check the Battery Condition: While you’re at it, take a look at the battery for any signs of corrosion or damage.
- Dispose of Old Batteries Properly: If you’re replacing the battery, recycle the old one at an auto parts store or recycling center.