
If you’ve recently purchased a car, chances are the dealership has left a little “souvenir” on the back—usually in the form of a logo, badge, or branded sticker. While these stickers serve as free advertising for the dealership, they don’t add any value to your vehicle, and most owners prefer a clean, badge-free look.
Removing a dealership sticker is straightforward, but doing it incorrectly can lead to scratches, residue, or even damage to the paint. Whether you’re dealing with a sticker, decal, or plastic badge, the right techniques will ensure a clean removal without leaving a trace.
Why You Should Remove Dealership Stickers Properly
Peeling a dealership sticker off without softening the adhesive first can lead to issues such as:
- Leftover adhesive residue that attracts dirt and grime.
- Scratches on the paint or window if sharp tools are used improperly.
- Uneven fading where the sticker protected the paint from UV exposure.
Instead of forcefully ripping it off, using the right tools and methods will help you remove it safely.
How to Remove Car Dealership Stickers from Paint and Glass
The method you use depends on where the sticker is located—on the car’s body (painted surface) or on a window (glass).
Step 1: Gather Your Supplies
Before you start, you’ll need:
- A hairdryer or heat gun (set to low or medium heat)
- Plastic scraper, old credit card, or dental floss
- Adhesive remover (such as Goo Gone, WD-40, or rubbing alcohol)
- Microfiber cloths
- Car wash soap and water
These tools will help remove the sticker while minimizing the risk of damage.
Step 2: Warm Up the Sticker
Heat loosens the adhesive, making it easier to peel the sticker off in one piece.
- Use a hairdryer or heat gun on low heat, holding it about 6 inches away from the sticker.
- Move it around for 30-60 seconds until the edges of the sticker start to lift.
- Be careful not to overheat the area, especially if your car has a vinyl wrap or delicate paintwork.
If the sticker is on glass, this step is even easier because glass is more heat-resistant than paint.
Step 3: Peel Off the Sticker Gently
Once the adhesive is softened, start peeling from one corner using your fingernails, a plastic scraper, or an old credit card.
- Pull slowly and evenly to avoid tearing the sticker.
- If resistance increases, apply more heat to further soften the adhesive.
- Avoid using a razor blade or metal tools, as they can scratch paint or glass.
If you’re dealing with a plastic dealership badge, use dental floss or fishing line instead:
- Slide the floss behind the badge, moving in a sawing motion to detach it from the adhesive.
- Once loosened, pry the badge off gently with your fingers.
Step 4: Remove Adhesive Residue
Even after the sticker is gone, you’ll likely be left with sticky residue. To remove it:
- Apply a small amount of adhesive remover (Goo Gone, WD-40, or rubbing alcohol) to a microfiber cloth.
- Gently rub the area in circular motions until the residue lifts.
- If using WD-40, wash the area with soap and water afterward to remove any oily residue.
For a more natural approach, a baking soda and coconut oil paste can work as a mild, paint-safe adhesive remover.
Step 5: Wash and Wax the Area
Once the adhesive is fully removed:
- Wash the area with car soap and water to remove any lingering chemicals.
- If the paint appears slightly dull compared to the surrounding surface, apply a small amount of car wax or polish to blend it in.
This final step restores shine and prevents dirt from sticking to the area where the sticker was.
Dealing with Faded Paint Underneath the Sticker
If the dealership sticker has been on your car for years, you may notice a difference in paint color after removal. This happens because the paint underneath the sticker has been shielded from the sun, while the surrounding paint has faded over time.
To fix this:
- Hand-polish or buff the area with a mild polishing compound to reduce contrast.
- Use a high-quality car wax to add a layer of protection and even out the shine.
- If the color difference is significant, professional paint correction may be required.
What About Removing Stickers from Windows?
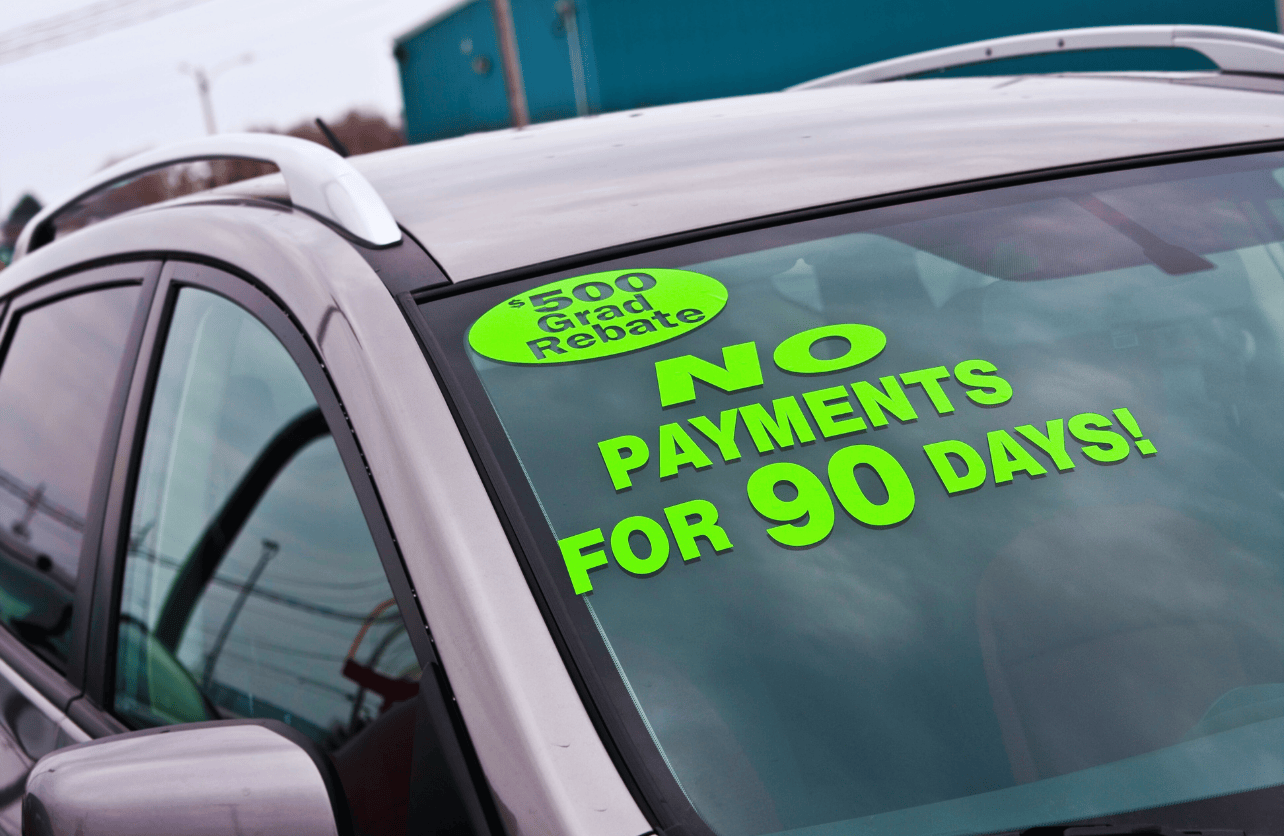
If the dealership sticker is on a car window, the removal process is even easier:
- Spray glass cleaner or soapy water over the sticker to soften the adhesive.
- Use a razor blade or plastic scraper at a 45-degree angle to lift the edges.
- Wipe the area with rubbing alcohol or vinegar to remove residue.
- Clean with glass cleaner to finish.
Since glass is less prone to damage than paint, you can apply more force when removing stickers from windows.
Should You Remove the Dealer Sticker or Badge?
Dealership stickers and badges serve no functional purpose and are only there for branding. Removing them will:
- Improve the car’s appearance by giving it a clean, streamlined look.
- Increase resale value, as many buyers prefer a neutral, logo-free vehicle.
- Prevent long-term paint fading, which can leave a noticeable outline if removed years later.
Unless you personally like the dealership branding, removing these stickers is a simple upgrade that enhances your car’s look.
Final Thoughts
When done correctly, removing a car dealership sticker is quick and easy. By applying heat, peeling carefully, and using the right adhesive remover, you can get rid of dealership branding without damaging your car’s paint or windows.
Once the sticker is gone, a good wash and wax will ensure the area looks as if the sticker was never there. If you’ve just bought a new car, taking a few extra minutes to remove unnecessary branding can make your ride truly feel like your own.