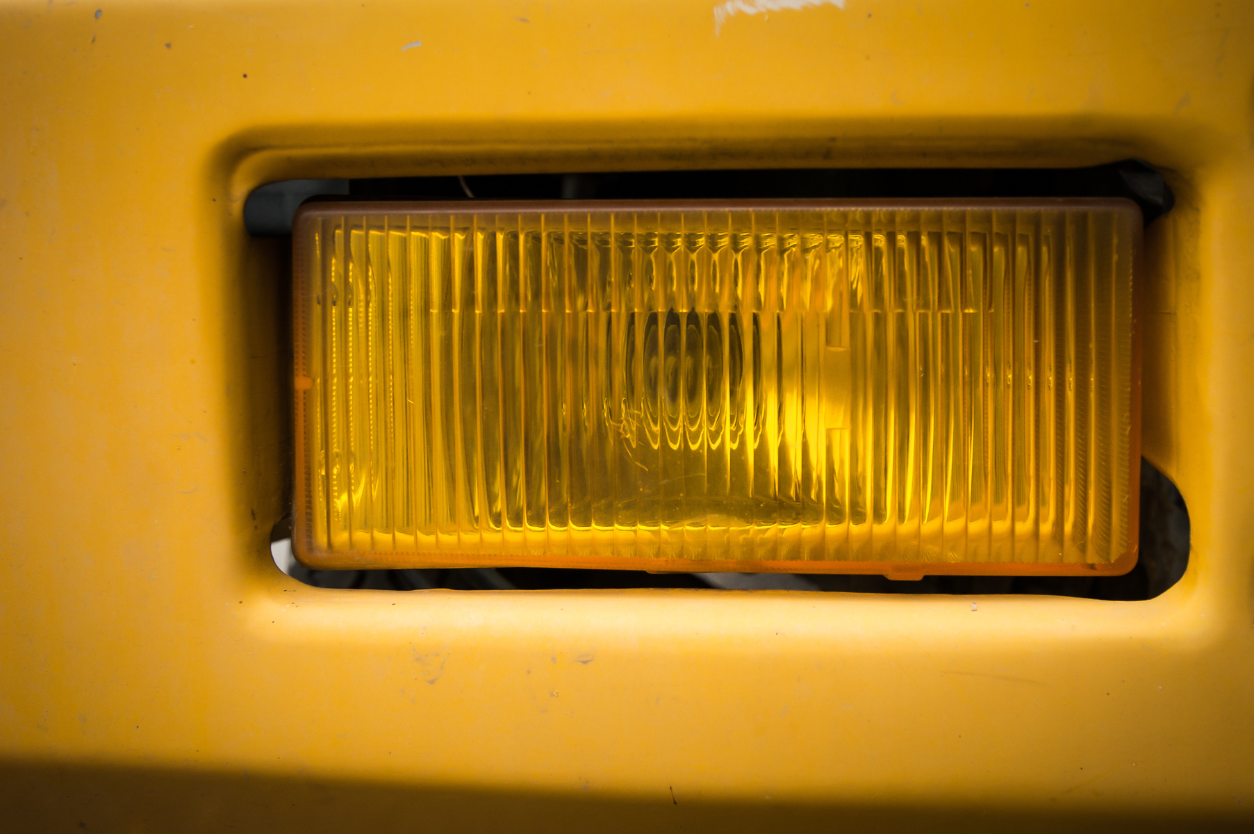
How To Install Fog Lights on Your Vehicle

Installing fog lights on your vehicle can significantly improve visibility during adverse weather conditions, and it’s a relatively straightforward project if you have the right tools and a bit of patience. Whether you’re looking to upgrade the aesthetics of your car or need better illumination on foggy nights, this guide will walk you through the process in a clear and friendly manner.
Before we dive into the nitty-gritty details, let’s get prepared. Make sure you have all the necessary components and tools: fog lights, wiring harness, relay, switch, screwdrivers, wrenches, and some electrical tape. It’s also helpful to have your vehicle’s manual handy to reference specific details about your car model. Now, let’s get started with the installation process.
Removing the Bumper Cover
First things first, we need to remove the bumper cover to access the area where the fog lights will be installed. Start by removing all the bolts and clips around the bumper. Typically, these are 10mm bolts located at various points along the bumper’s edge and under the vehicle. Carefully pull back the splash guard to reveal more bolts that need to be removed. Once all the bolts are out, you can gently pull the bumper cover away from the car. Set it aside in a safe place where it won’t get scratched or damaged.
Installing the Fog Lights
With the bumper cover off, you can now see the pre-wired connectors for the fog lights. These connectors are usually clipped to the vehicle frame or rebar. Carefully cut any zip ties or clips holding them in place. Next, align the fog lights with the mounting brackets on the bumper. Slide the fog lights into place and secure them using the provided screws or brackets. Make sure they are firmly attached and won’t move or rattle.
Wiring the Fog Lights
Locate the wiring harness that came with your fog lights. Connect the harness to the pre-wired connectors on your vehicle. If your car didn’t come pre-wired for fog lights, you’ll need to run the wiring from the fog lights to the switch and relay inside the vehicle. Route the wires carefully through existing grommets or along the vehicle’s wiring channels to avoid any moving parts or areas that get very hot.
Installing the Relay and Switch
To install the relay and switch, you’ll need to access the area behind your dashboard where the relay panel is located. This is typically under the steering column. Remove the necessary panels to reach the relay slots. Insert the fog light relay into the designated slot. Then, connect the switch to the wiring harness and mount it in an accessible location on your dashboard. If your switch replaces an existing turn signal or headlight switch, follow the steps to remove the old switch and install the new one with the fog light function.
Reassembling and Testing
With everything wired up, it’s time to reassemble your vehicle. Start by reattaching the bumper cover. Align it properly and secure it with the bolts and clips you removed earlier. Double-check that everything is tight and secure. Once the bumper is back in place, it’s time to test the fog lights. Turn on your headlights and then switch on the fog lights. They should illuminate the area directly in front of your vehicle, providing better visibility in foggy or rainy conditions.
If the fog lights don’t turn on, double-check your wiring connections and make sure the relay and switch are properly installed. Sometimes, a loose connection or a missed step can cause the lights to malfunction. Once everything is working correctly, you’re ready to hit the road with improved visibility and a stylish new look.