How to Do a DIY Clear Coat Repair
Taking care of your car can be a labor of love, especially when it comes to the paint job. One common issue many car owners face is clear coat damage. Whether it’s from sun exposure, road debris, or just the passage of time, a damaged clear coat can make your car look older and more worn out than it actually is. Fortunately, doing a DIY clear coat repair yourself is completely doable and can save you a lot of money.
Before starting the repair process, set up a clean, well-ventilated workspace. Ideally, this should be in a garage or a shaded outdoor area to avoid dust and direct sunlight. Gather all the necessary materials: clear coat spray, fine-grit sandpaper (like 1500 to 2000 grit), masking tape, plastic sheeting, a microfiber cloth, rubbing alcohol, a polishing compound, and a buffer or soft cloth for polishing.
Step 1: Clean and Sand the Damaged Area
First, wash the area thoroughly with soap and water to remove any dirt and debris. Dry it completely with a microfiber cloth. Once clean, use rubbing alcohol to wipe down the area to ensure it’s free of oils and contaminants. This helps the new clear coat adhere properly.
Next, lightly sand the damaged area with 1500 or 2000 grit sandpaper. Wet sanding is often recommended to avoid creating deep scratches. Sand in a gentle, circular motion until the clear coat feels smooth. You’re aiming to remove the damaged clear coat layer and create a smooth transition to the undamaged areas. Be cautious not to sand through the color coat beneath the clear coat.
Step 2: Mask and Protect Surrounding Areas
After sanding, use masking tape and plastic sheeting to cover the areas surrounding the repair site. This protects the rest of your car from overspray when you apply the new clear coat. Make sure to cover a wider area than you think you’ll need to avoid any unwanted spray on undamaged paint.
Step 3: Apply the New Clear Coat
Now it’s time to apply the clear coat. Shake the clear coat spray can vigorously for about a minute to ensure it’s well-mixed. Hold the can about 6-8 inches away from the surface and spray in a steady, even motion. Apply the clear coat in light, overlapping layers, allowing each layer to dry for about 5-10 minutes before applying the next one. Usually, two to three layers are sufficient, but follow the instructions on your specific clear coat product.
Related: How To Detail a Vehicle Interior
Step 4: Let It Cure
After applying the final layer of clear coat, let it cure. This usually takes about 24 hours, but it’s best to refer to the manufacturer’s instructions for precise curing times. Avoid touching or disturbing the area during this time to ensure a smooth, hard finish.
Step 5: Wet Sand and Polish
Once the clear coat has fully cured, it’s time to polish it to blend seamlessly with the rest of the car’s paint. Start by wet sanding the area again with 2000 grit sandpaper to smooth out any imperfections. Be very gentle to avoid sanding through the new clear coat.
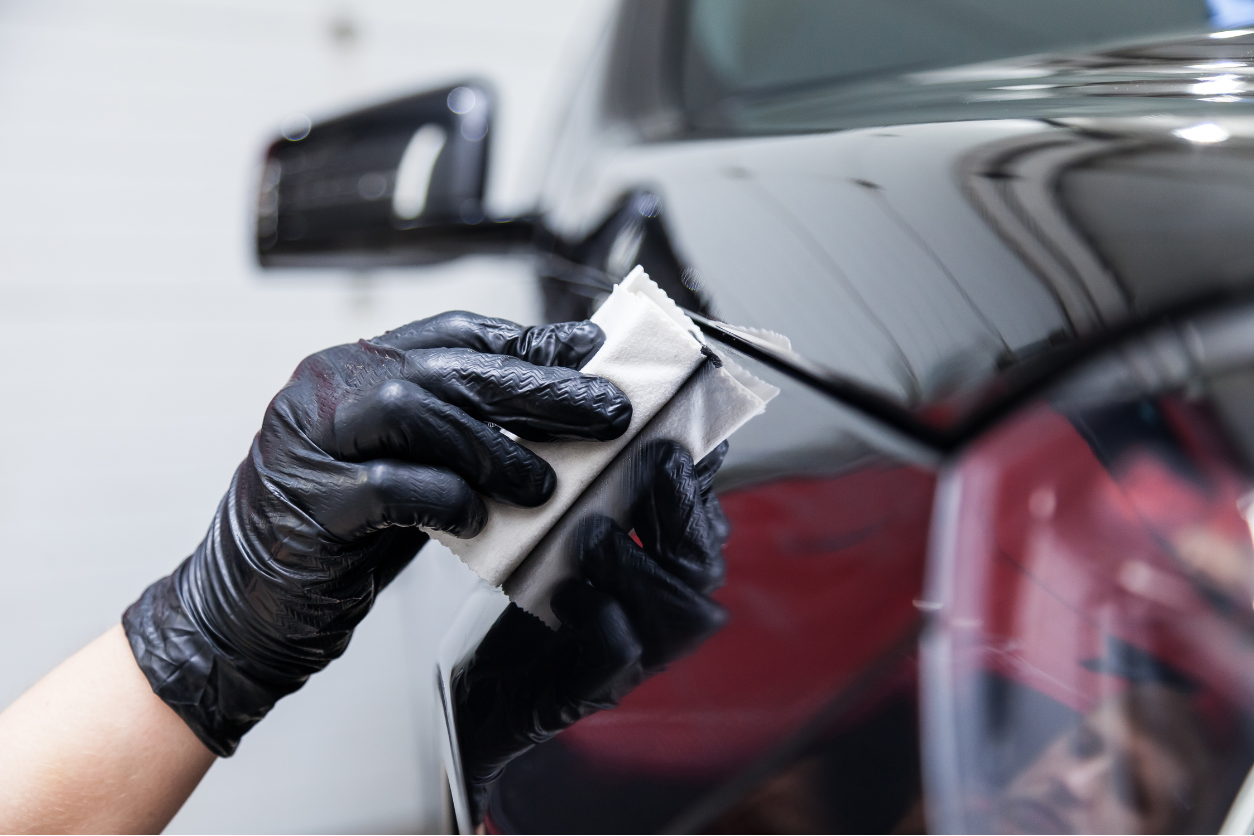
After sanding, use a polishing compound to buff the area. Apply the compound to a soft cloth or buffer pad and work it into the clear coat in a circular motion. This step restores the shine and removes any sanding marks, leaving your repair job looking professional.
Final Touches
After polishing, wipe down the area with a clean microfiber cloth to remove any residue. Inspect the repair under different lighting conditions to ensure it blends well with the surrounding paint. If needed, repeat the polishing process for a perfect finish.